| Author |  Topic Topic  |
Woody
V4 Guru

United Kingdom
2764 Posts |  Posted - 05 Jul 2009 : 22:45:06 Posted - 05 Jul 2009 : 22:45:06  
| http://www.saab-v4.co.uk/speedball/topic.asp?TOPIC_ID=1082
See above for the topic previously in idle saab chat.
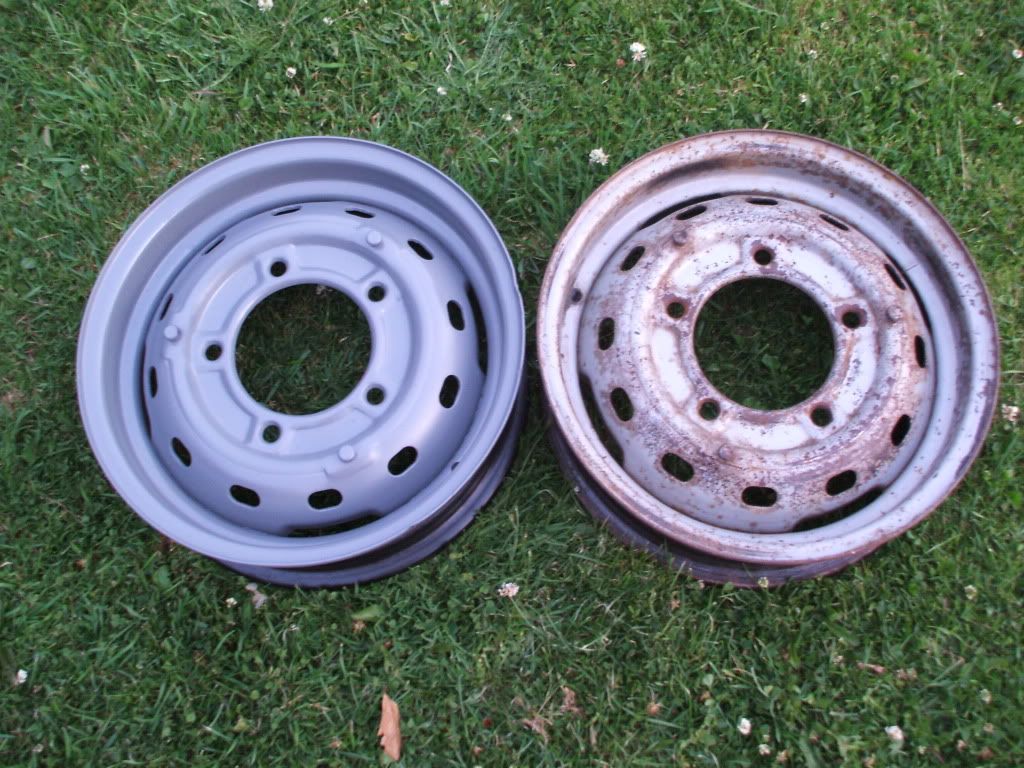
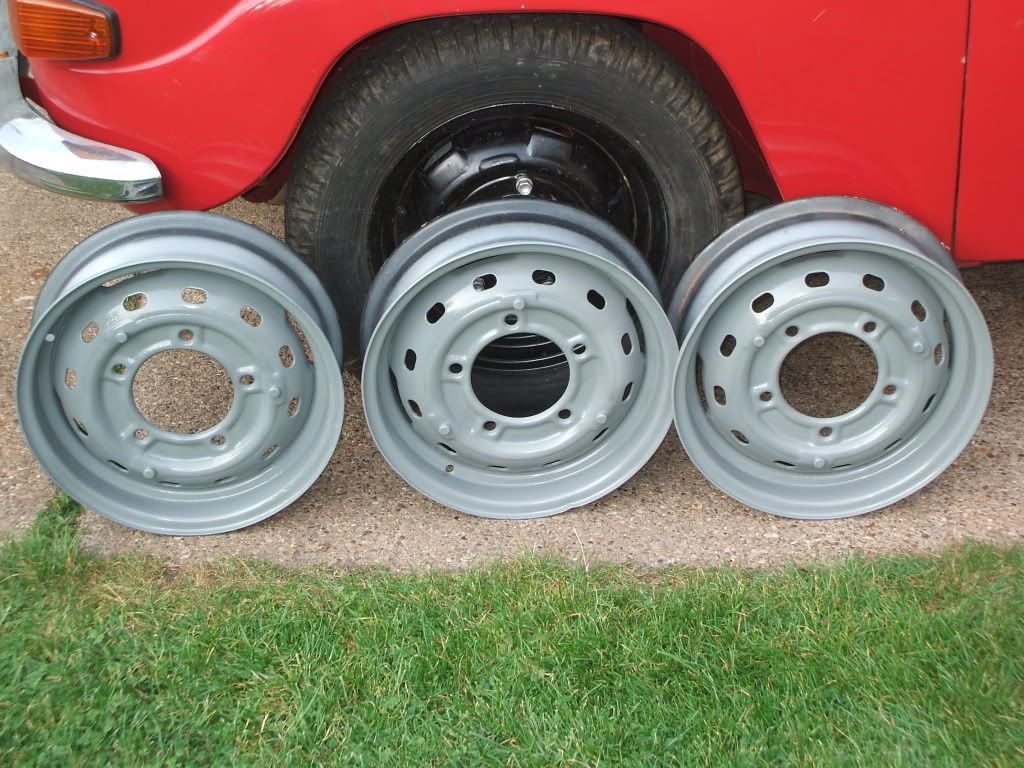
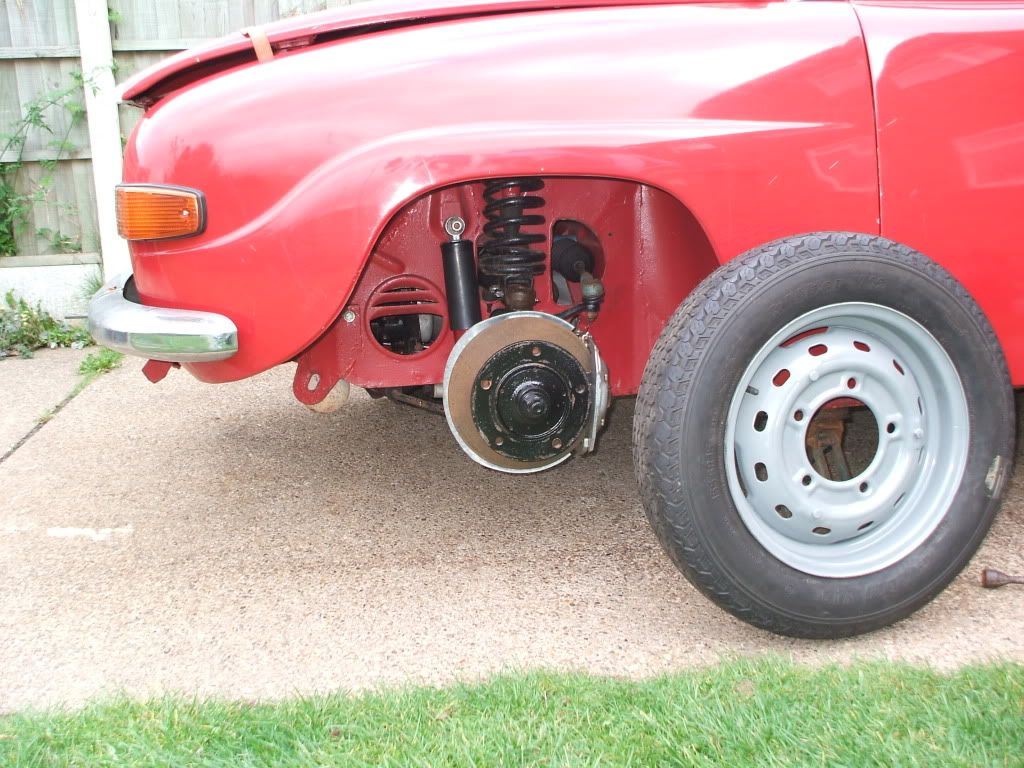
Spent some time rubbing down the 4.5 steels over the last few days. Tried spraying one with a 10+yr old can of Ford Windsor Grey. Bit lighter than the BL Hurricane Grey I used on the heater housing. The windsor grey is probably a better shade for the heater housing though the hurricane is good match for bumper irons.
Below the comparison between the Windsor grey and the original wheel finish which has a hint of silver in it. Have to see if I can get some made up as I have 10 wheels to do.
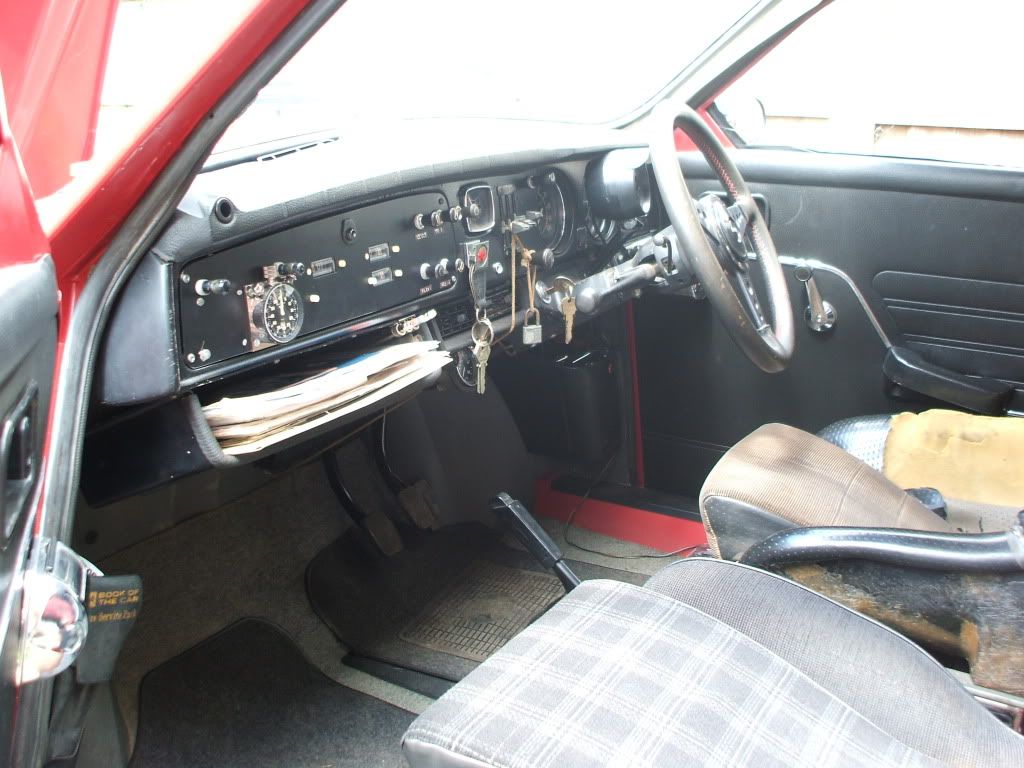
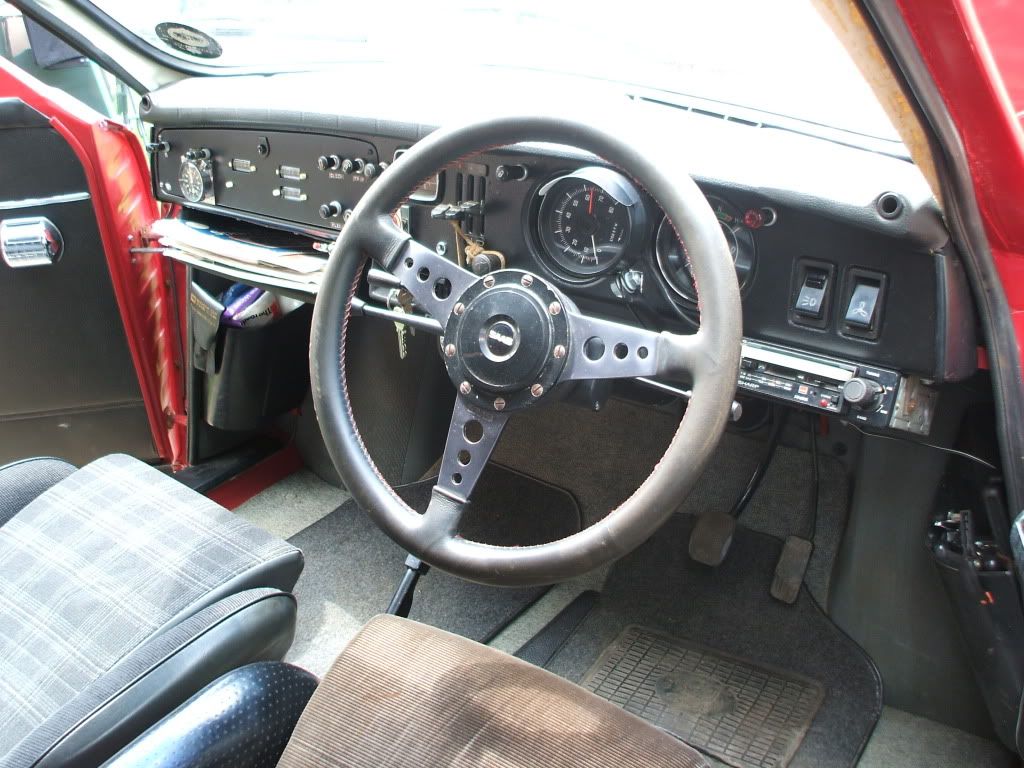
I have also installed the carpets and under-dash padding which gives an air of comfort. Changes since last pictured is the addition of cassette radio and the rev. counter has been moved off the L-bracket clipped to the column to a copy of the tube bracket secured at the hole on the other side of the column stand. This moved the tacho slightly higher up. It does obscure the speedo above 60mph and the ignition/alternator lamp.

 |
Edited by - Woody on 05 Jul 2009 23:09:05 |
|
john wyatt
V4 Guru
United Kingdom
1031 Posts | Posted - 06 Jul 2009 : 10:03:47
| | Do you have any specific aim to have car back on the road? |  |
|
Woody
V4 Guru
United Kingdom
2764 Posts | Posted - 06 Jul 2009 : 20:11:11
| "Soon"....after 25 years what's another month or so. Watch this space....
| |
|
Woody
V4 Guru
United Kingdom
2764 Posts | Posted - 24 Aug 2009 : 20:48:43
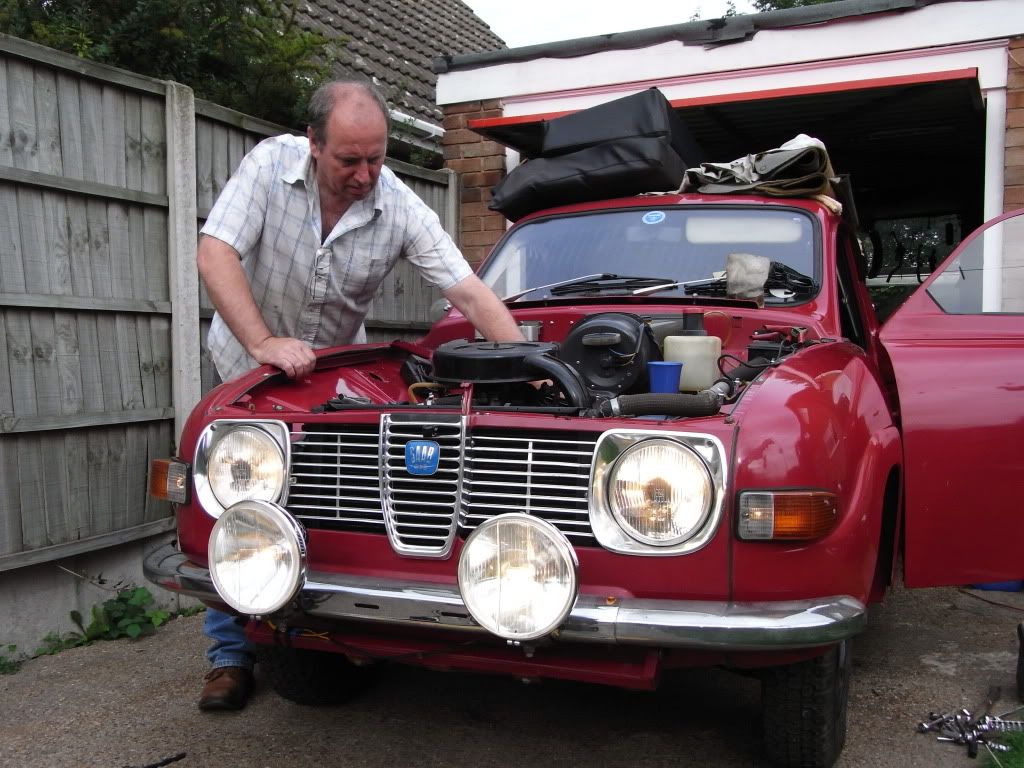
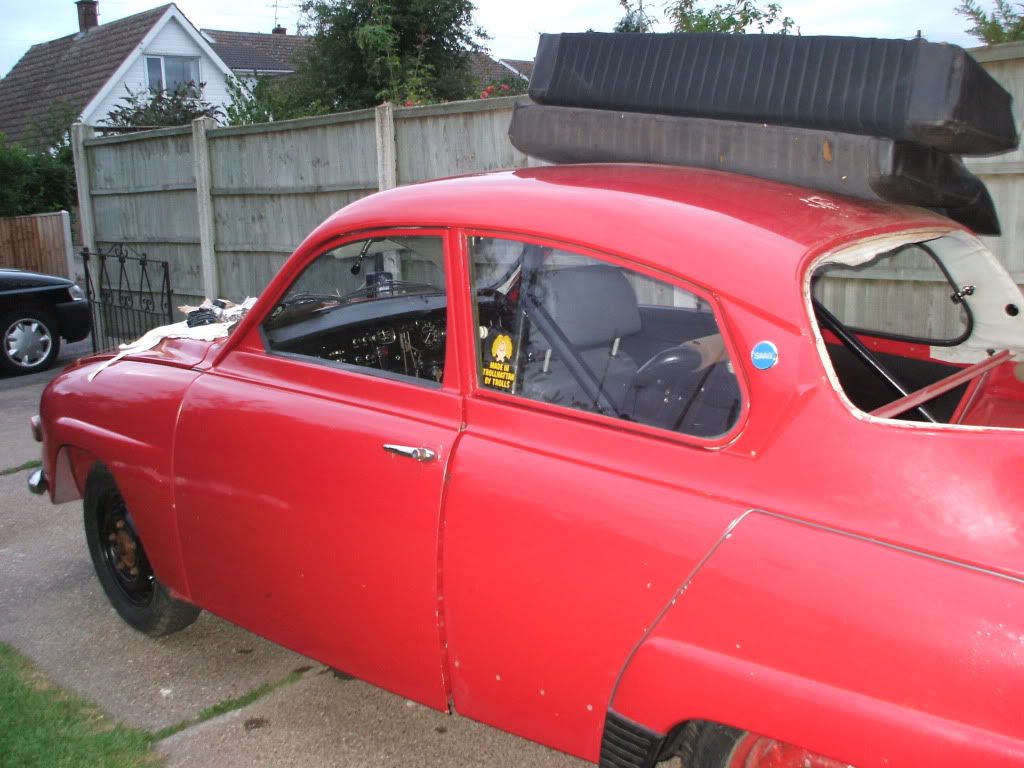
| Just a few pics to show I am progressing. Rear window next and then the side trim. Car is running better with the standard carb back on. Thanks Al.
Notice the difference between the rear seat back rest and seat base. A rug will cover that, but still in fair condition for 40 years old.
PS Any one got some touch-up paint? Ha,Ha
 |
Edited by - Woody on 24 Aug 2009 20:57:27 | |
|
Woody
V4 Guru
United Kingdom
2764 Posts | Posted - 27 Sep 2009 : 16:43:31
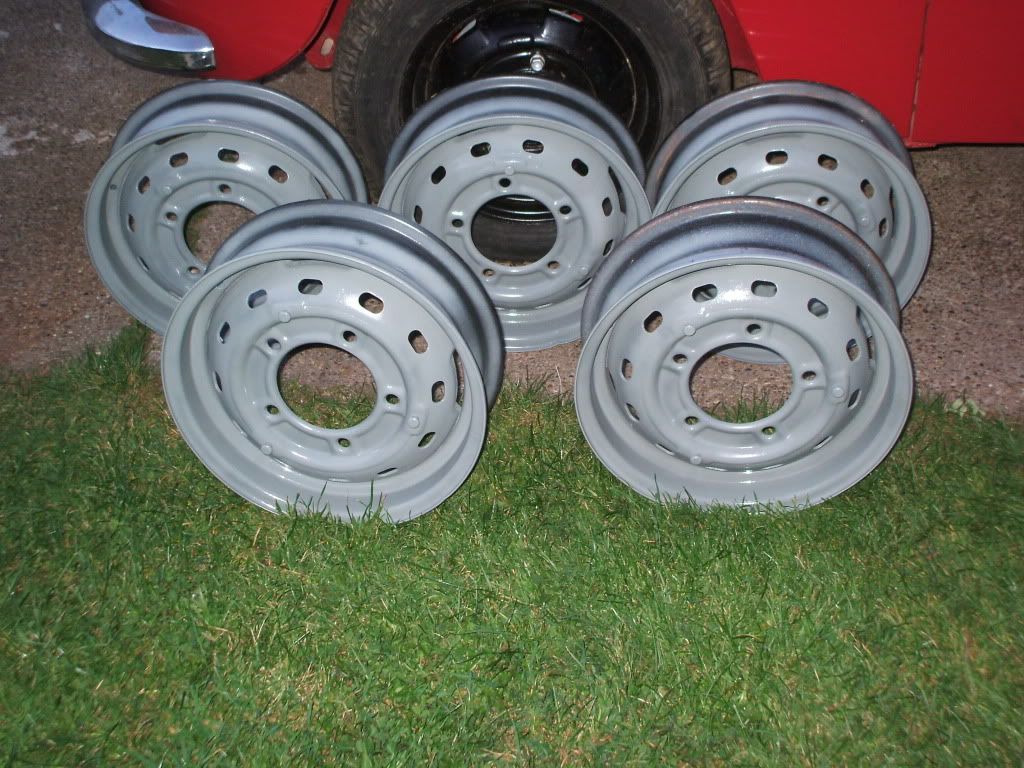
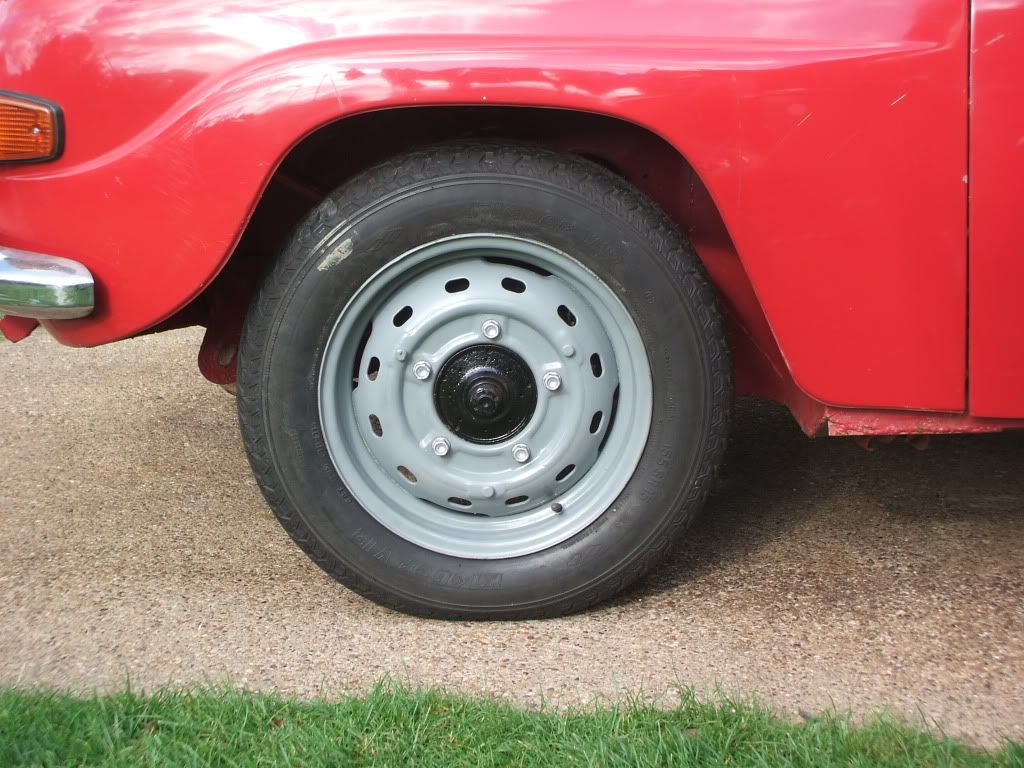
| Finally settled on the colour below which is a Halford's offering called Industrial Grey. Two more to do then get the rubber on. Insurance next...
 | |
|
n/a
deleted

297 Posts | Posted - 27 Sep 2009 : 18:37:53
| Great choice of colour for the wheels. She's getting there alright, can't rush perfection  Keep up the good work Woody...The old girl is looking a 'bonnie lass' Looking forward to the completion. Keep up the good work Woody...The old girl is looking a 'bonnie lass' Looking forward to the completion. | |
|
Woody
V4 Guru
United Kingdom
2764 Posts | Posted - 27 Sep 2009 : 19:01:13
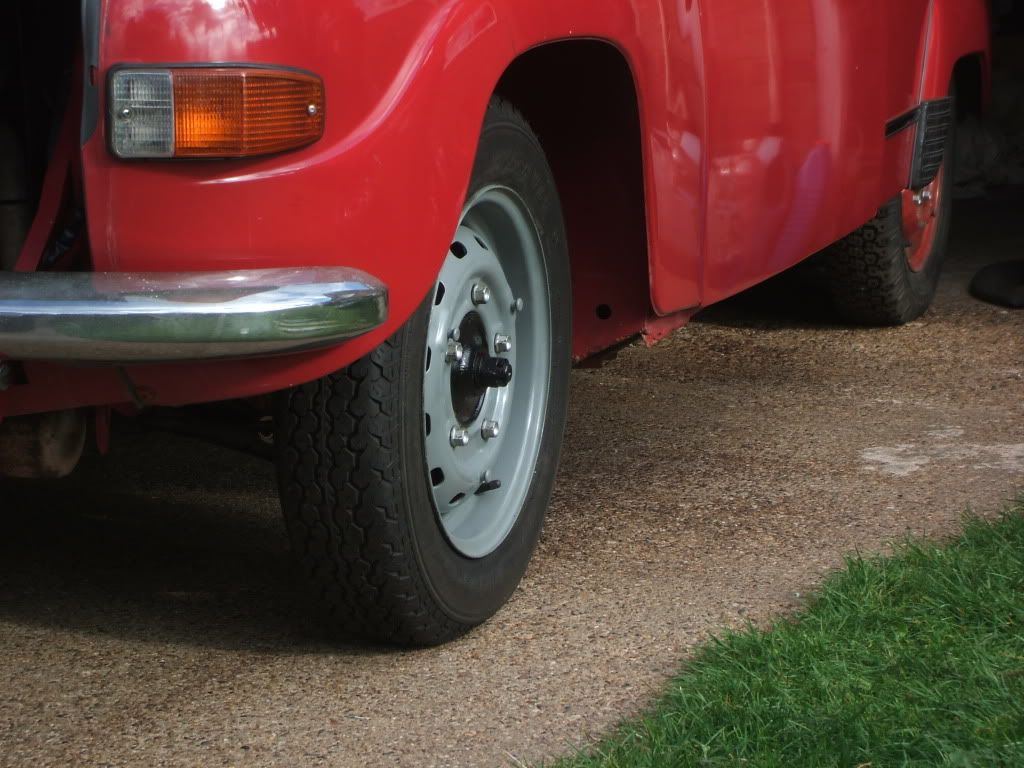
| Et Viola !! One set done, now for the other five for the knobblies.
 | |
|
Derek
V4 Guru
United Kingdom
2191 Posts | Posted - 27 Sep 2009 : 20:50:03
| | I was looking at that paint the other day. Thought it might be good for the backs of some chrome bumper parts (non Saab). I guess if you think it's good enough for active service on wheels, it must be tough enough for my job. | |
|
john wyatt
V4 Guru
United Kingdom
1031 Posts | Posted - 28 Sep 2009 : 16:23:20
| | that colour looks good on the wheels, are you retaining standard means of opening bonnet?, think a friend has finally tracked down a US spec grill for my car it really looks the business on them. | |
|
Woody
V4 Guru
United Kingdom
2764 Posts | Posted - 28 Sep 2009 : 20:46:31
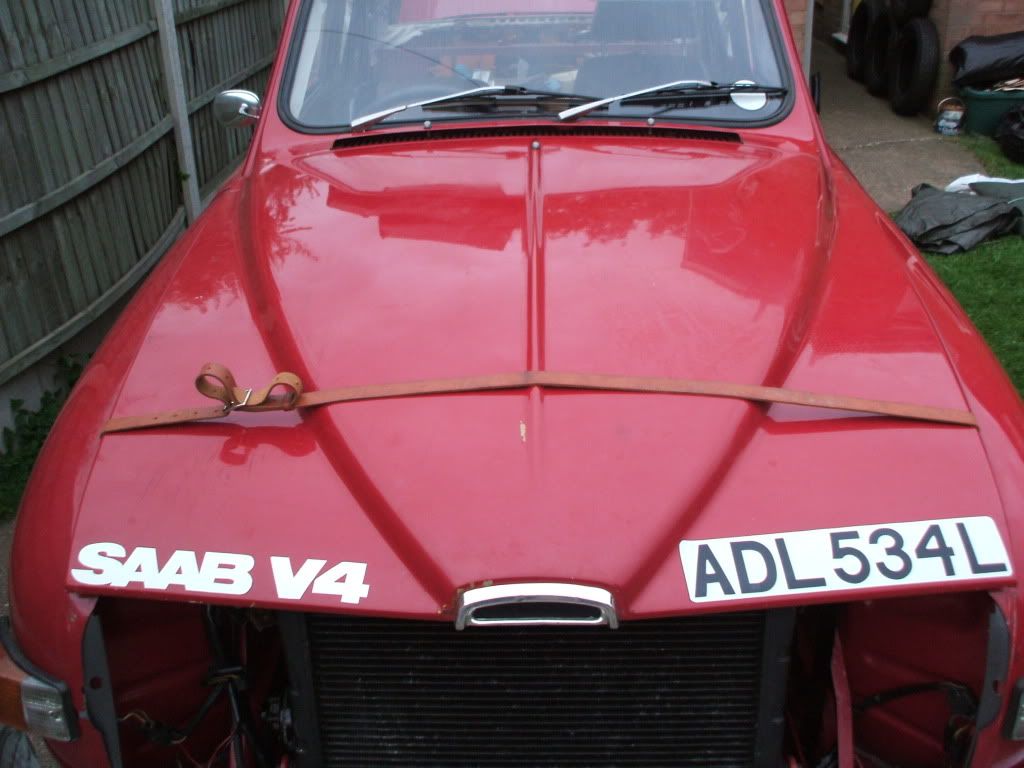
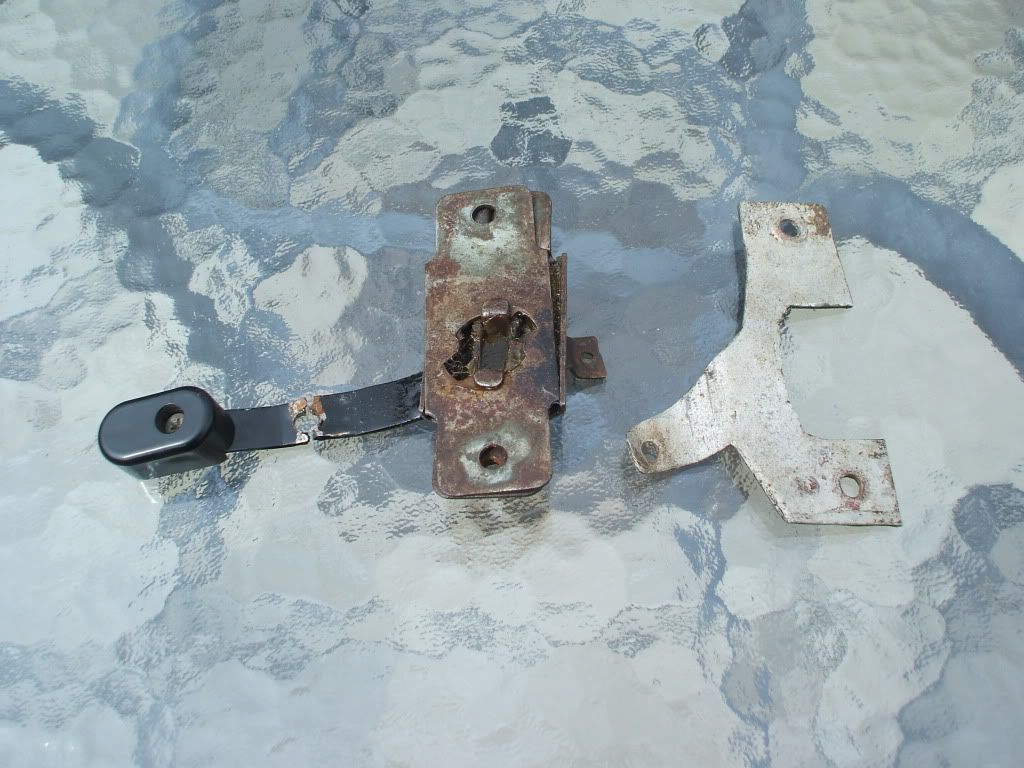
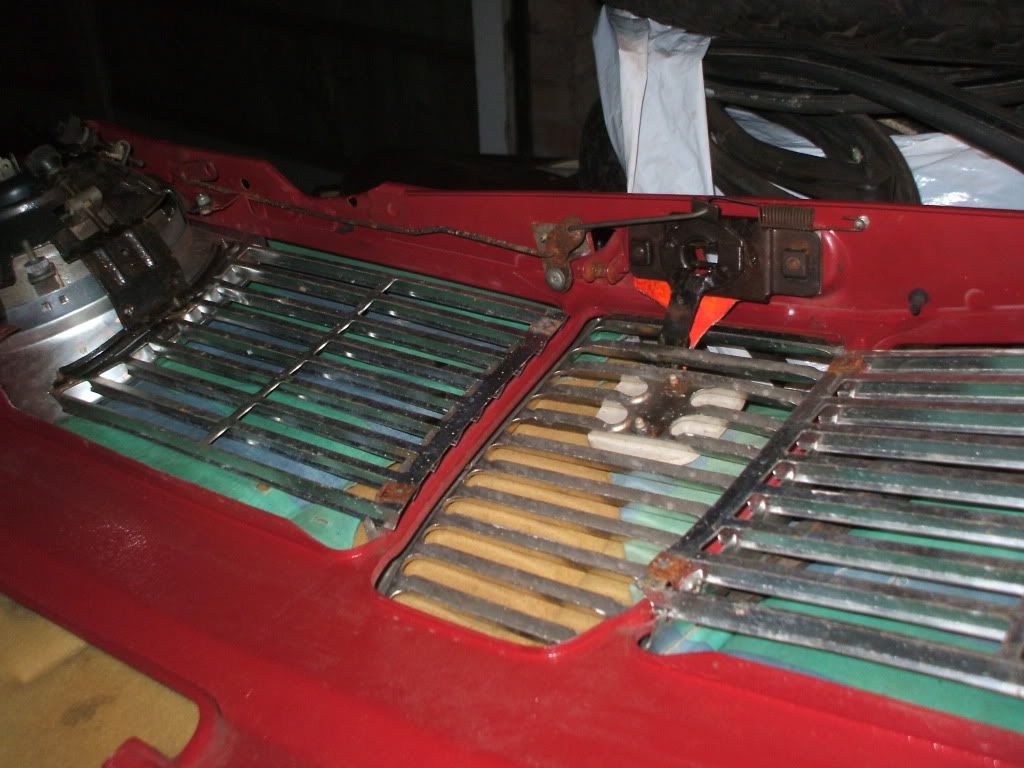
| I had the intention to have internal and external, as I have transferred across the modified bonnet lock from the original car that has a cut-down door lever and knob welded to the mechanism. This also has a padlock. See pick above with front panel in place and below:
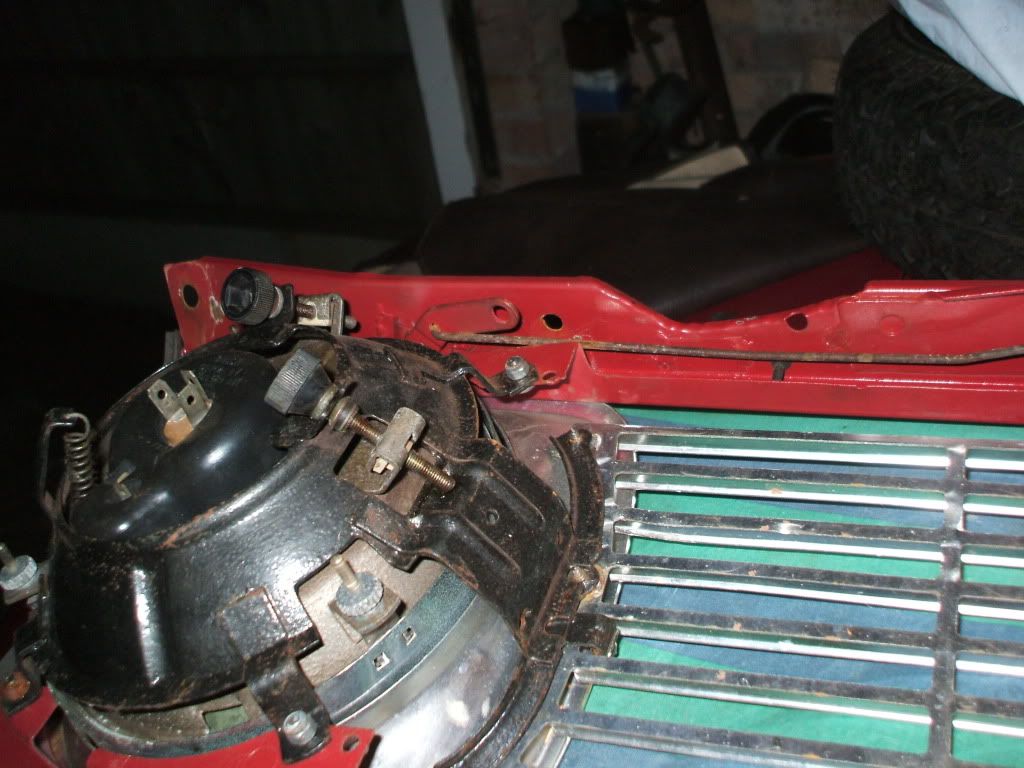
In order to retain the standard cable mechanism, this too had to be modified, as the standard parts would not work with the rally radiator. The operating arm for the cable was removed and welded in place near the round headlight fixing, and a longer connecting arm to another lever were used to keep things away from the radiator.
However, if I retain the standard cable nipple there is a risk the cable will be bent when the mechanism is operated externally, so I envisage using the nipple minus screw and a screw lock on the cable which will allow the nipple to move when operated externally and the cable lock will operate it internally.
It isn't that easy to reach the "T" handle with the map box in place. Easier to abandon it really but I thought "What if....."

 | |
|
Woody
V4 Guru
United Kingdom
2764 Posts | Posted - 28 Sep 2009 : 21:03:54
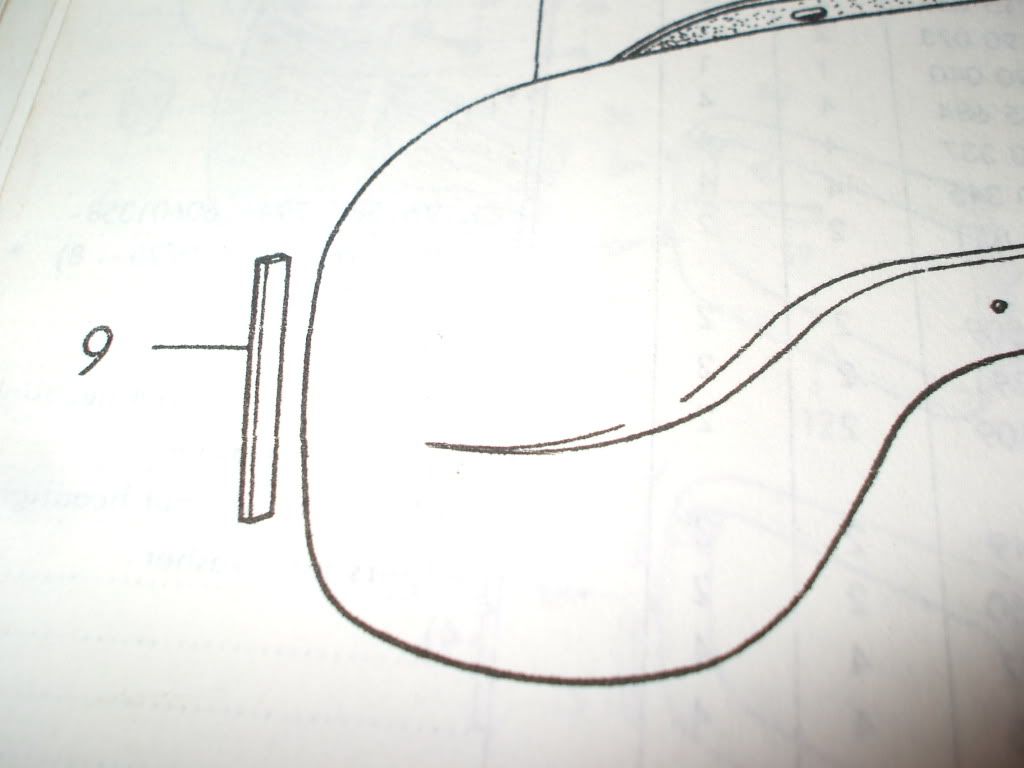
| The reason the front panel is off at present is while I decide where to fit the horns, which have to be relocated as there are sump guard brackets in the way. The other reason is that I have a gap between the inner and outer wings each side where the front panel fits. This needs to be filled with a moulding which is shown in the parts book, but I cannot remember seeing installed previously. This is not to be confused with the moulding that fits to the sides of the front panel.
Anyone got some ?
 |
Edited by - Woody on 28 Sep 2009 21:06:46 | |
|
Woody
V4 Guru
United Kingdom
2764 Posts | Posted - 11 Oct 2009 : 14:34:20
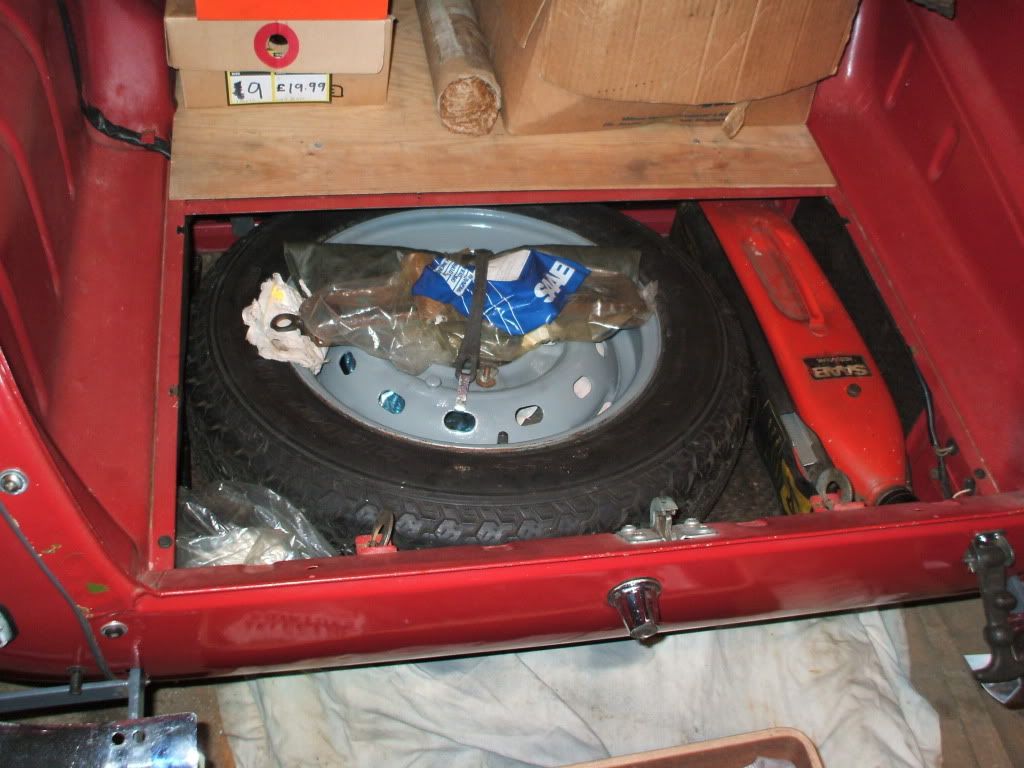
| Mounted tyres to wheels this morning. Still have to get them balanced.
 |
Edited by - Woody on 11 Oct 2009 16:40:15 | |
|
James Ranaldi
V4 Guru
United Kingdom
1475 Posts | Posted - 12 Oct 2009 : 23:34:30
| Looking good Woody.
Cheers
James | |
|
Woody
V4 Guru
United Kingdom
2764 Posts | Posted - 13 Apr 2010 : 22:54:52
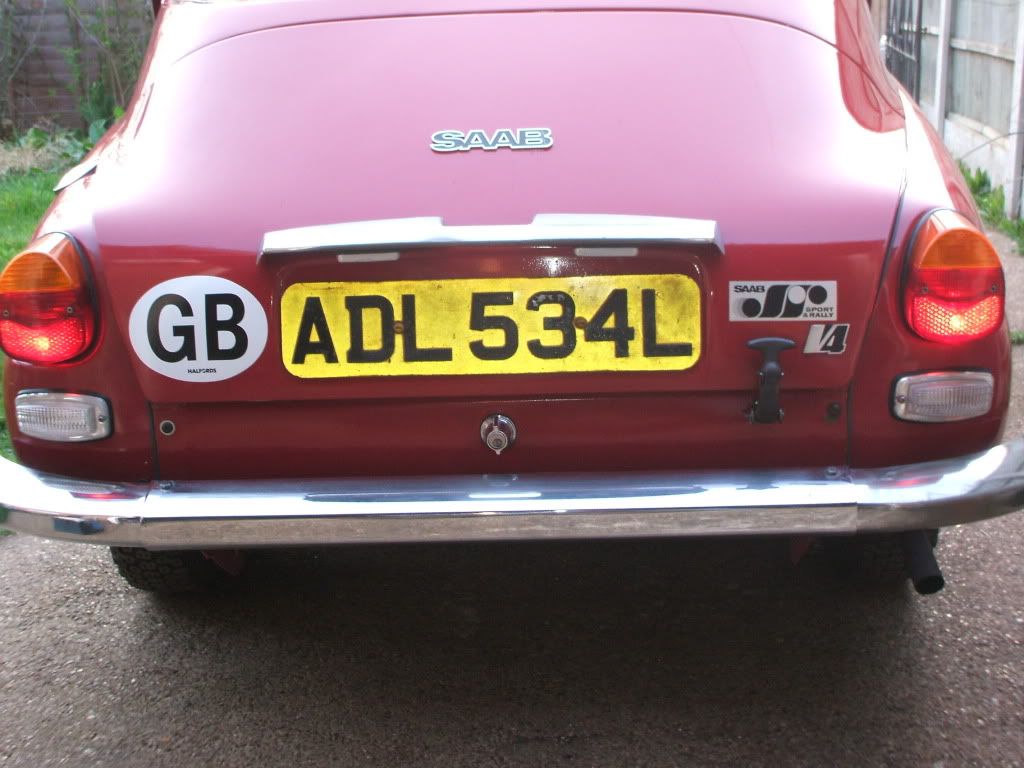
| A little evidence of some progress. Can't find the jack bag a present. Had some fun putting the new seal on the boot lid, employing about 25 long reach pegs. Had a lot of intermittent electrical faults on the circuitry, including Clock failure and horns refusing to work. Headlight relay also playing up. Hoping to get rear glass in at the weekend. Automatic choke comes in a bit fierce and needs tweaking.
Rear chrome was quite jaded and has come up nicely employing alcan foil and coke-cola.
More anon.
 |
Edited by - Woody on 13 Apr 2010 22:58:34 | |
|
rsimps
V4 Guru
United Kingdom
1616 Posts | Posted - 14 Apr 2010 : 12:08:04
| | Come on Woody, nearly there! Now you need your old rally motor building up. | |
|
Woody
V4 Guru
United Kingdom
2764 Posts | Posted - 17 Apr 2010 : 23:47:49
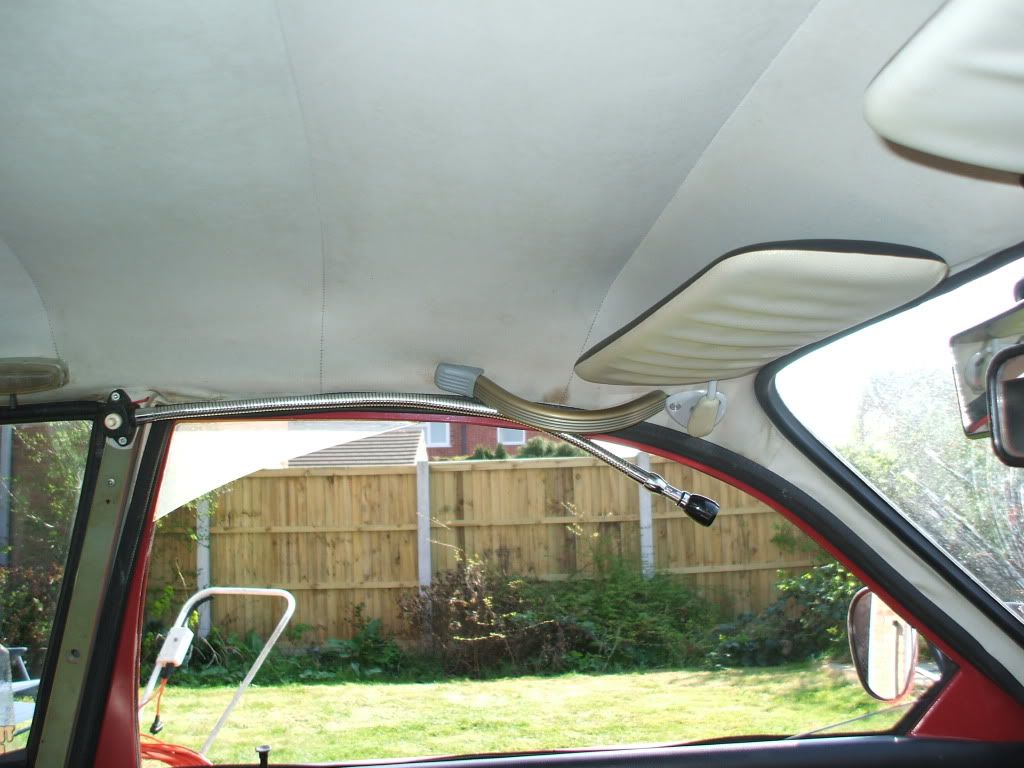
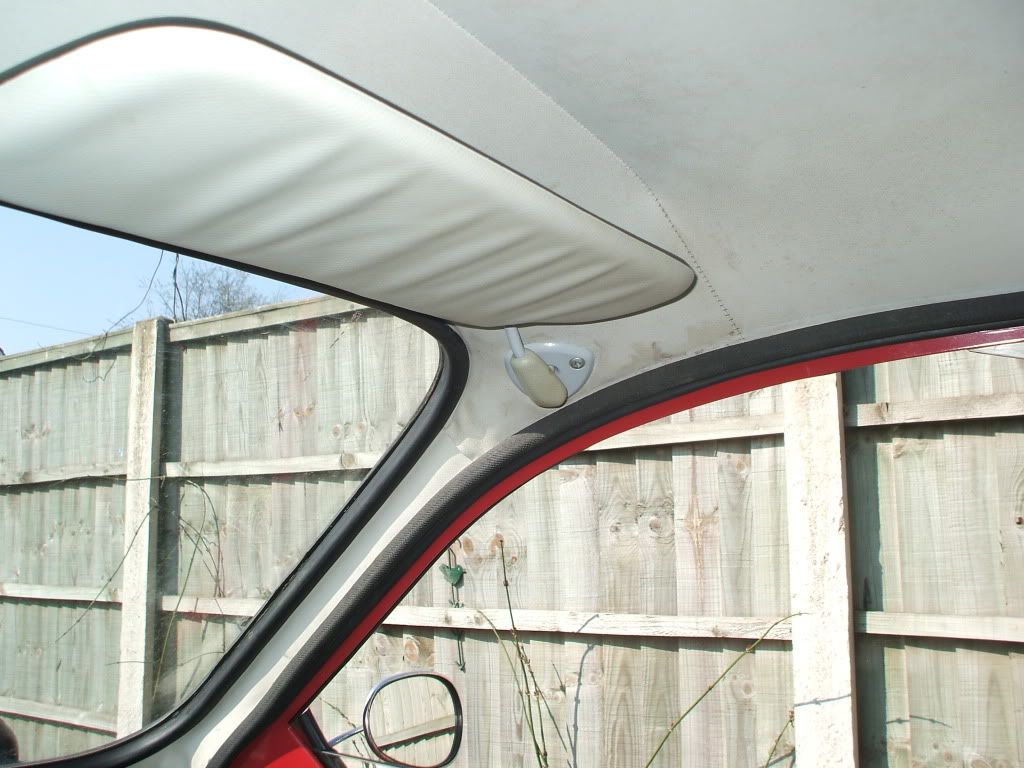
| Been sorting a few niggles with the head lining and installed the 1973 model visors after respraying the metal parts with Ford Light Polar Gray. The door pillar trims have to be made out of off-cuts from an old damaged headlining. The dirty marks were removed after the photo was taken:-
 |
Edited by - Woody on 17 Apr 2010 23:56:26 | |
|
| Topic | |
